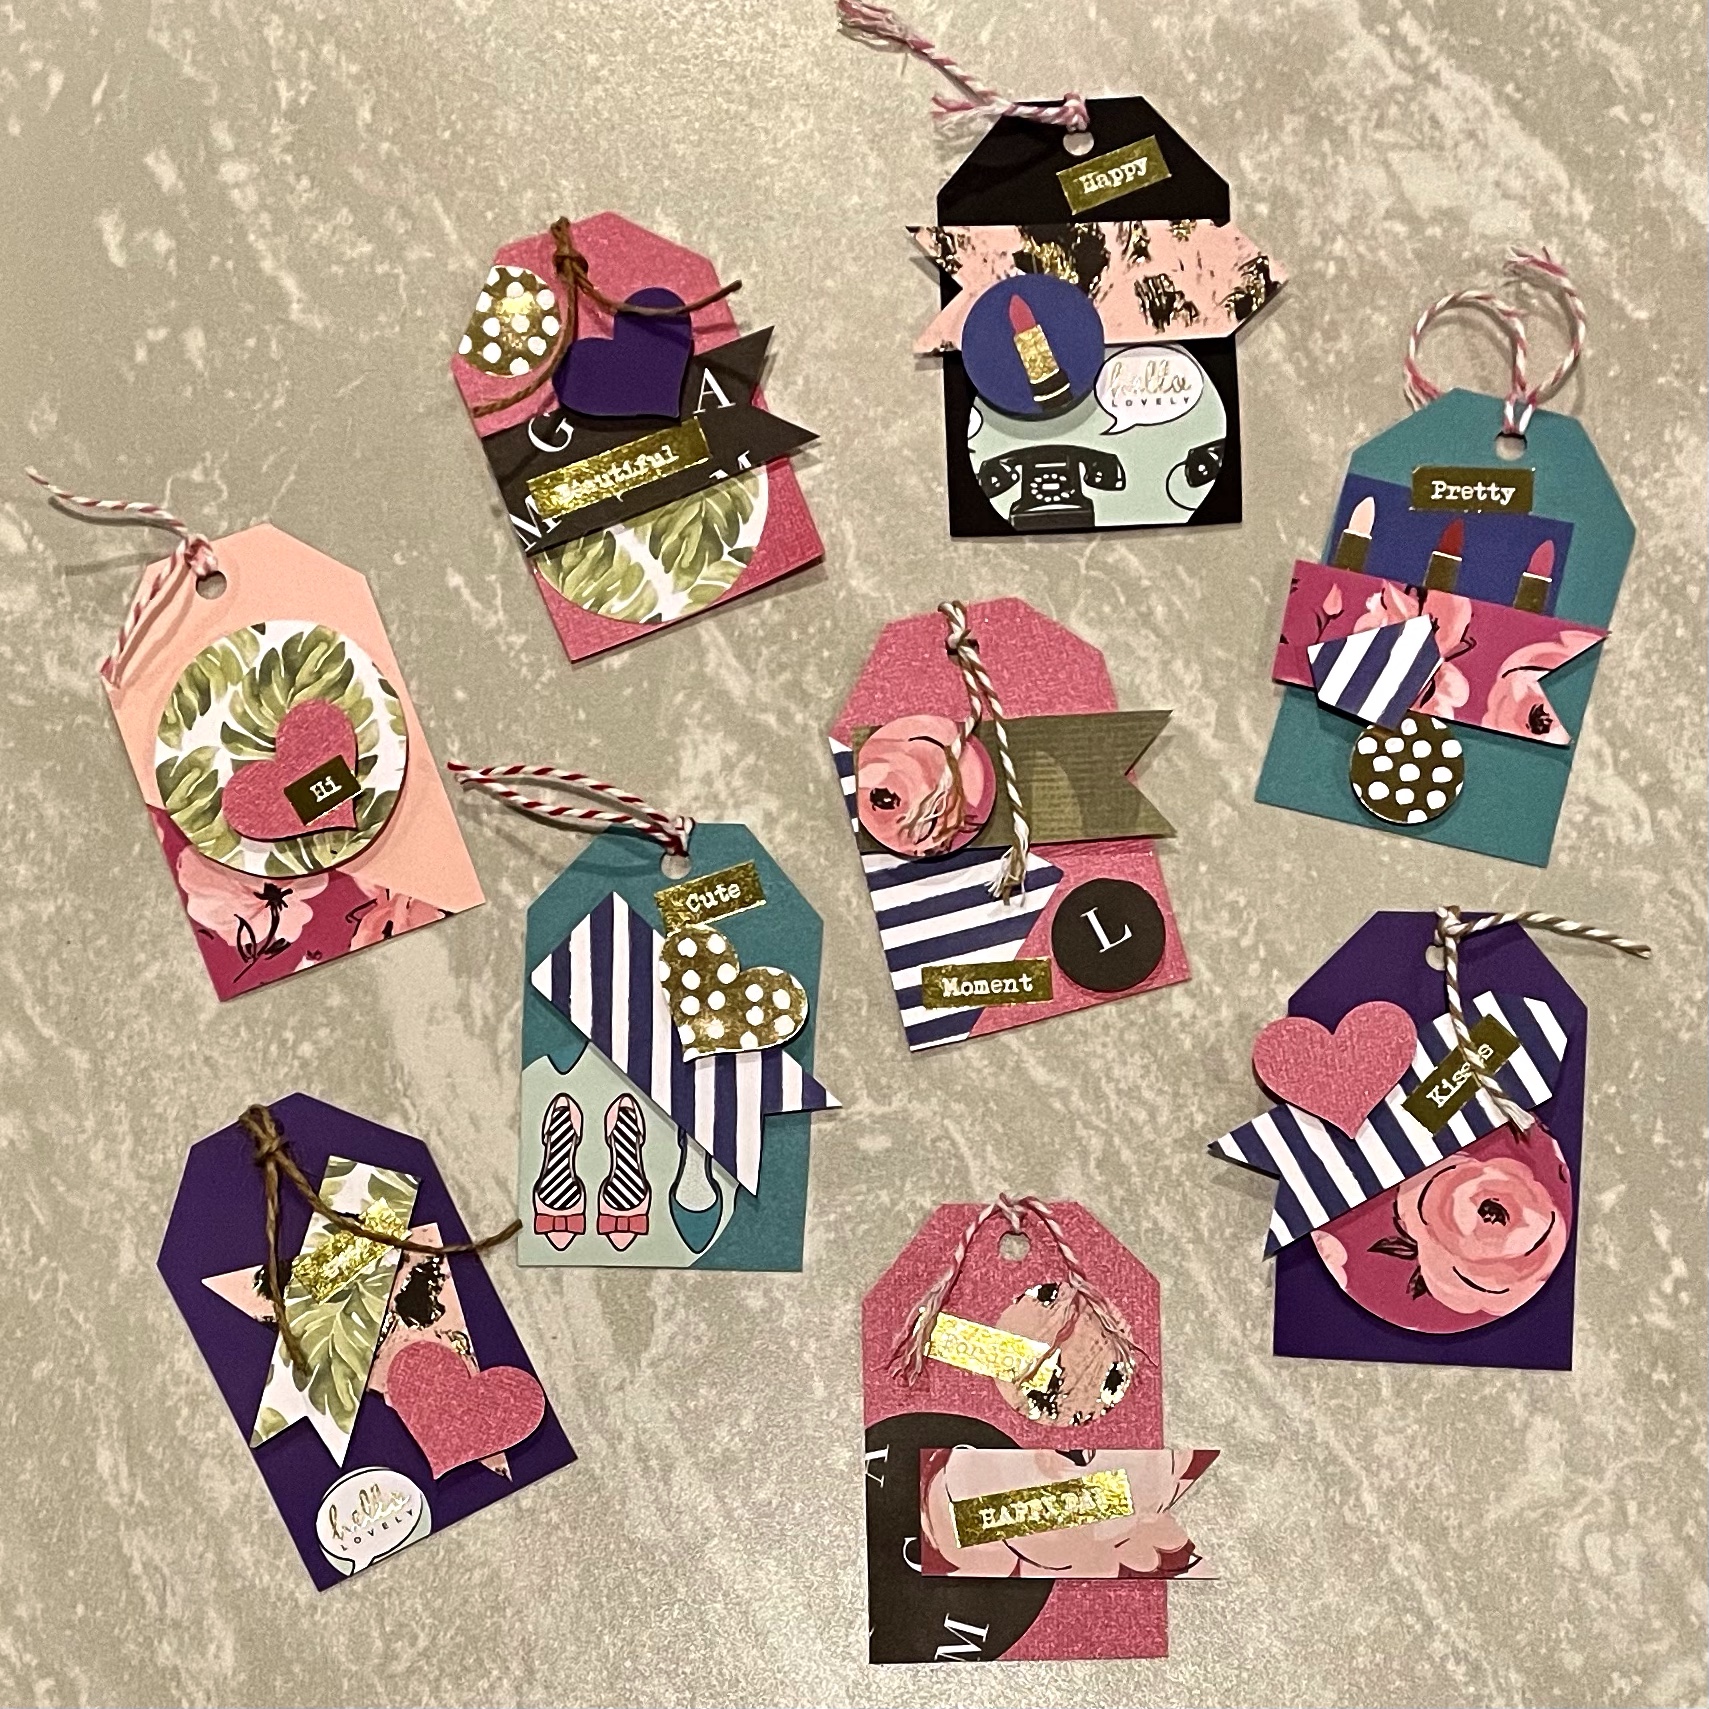
Simple crafted gift tags for all your gift giving.
We all know how It feels to need a quick gift for someone at the last minute. We are creative beings at heart and always want our gifts to be heartfelt and personal, but then at the last minute don’t have time to put in the truly unique touch we want to.
So let’s make some quick tags ahead of time so even if you’re in a pinch, you can add a simple, unique gift tag. Grab the free template here and let’s get started.

I have this cute paper pad from The Paper Studio. If you love it, you can find it at Hobby Lobby. Using one paper pad can ensure that all the pieces and parts for your tag coordinate. There are no solid colors in this paper pad so I pulled some coordinating paper scraps from my stash for the base of the tags.
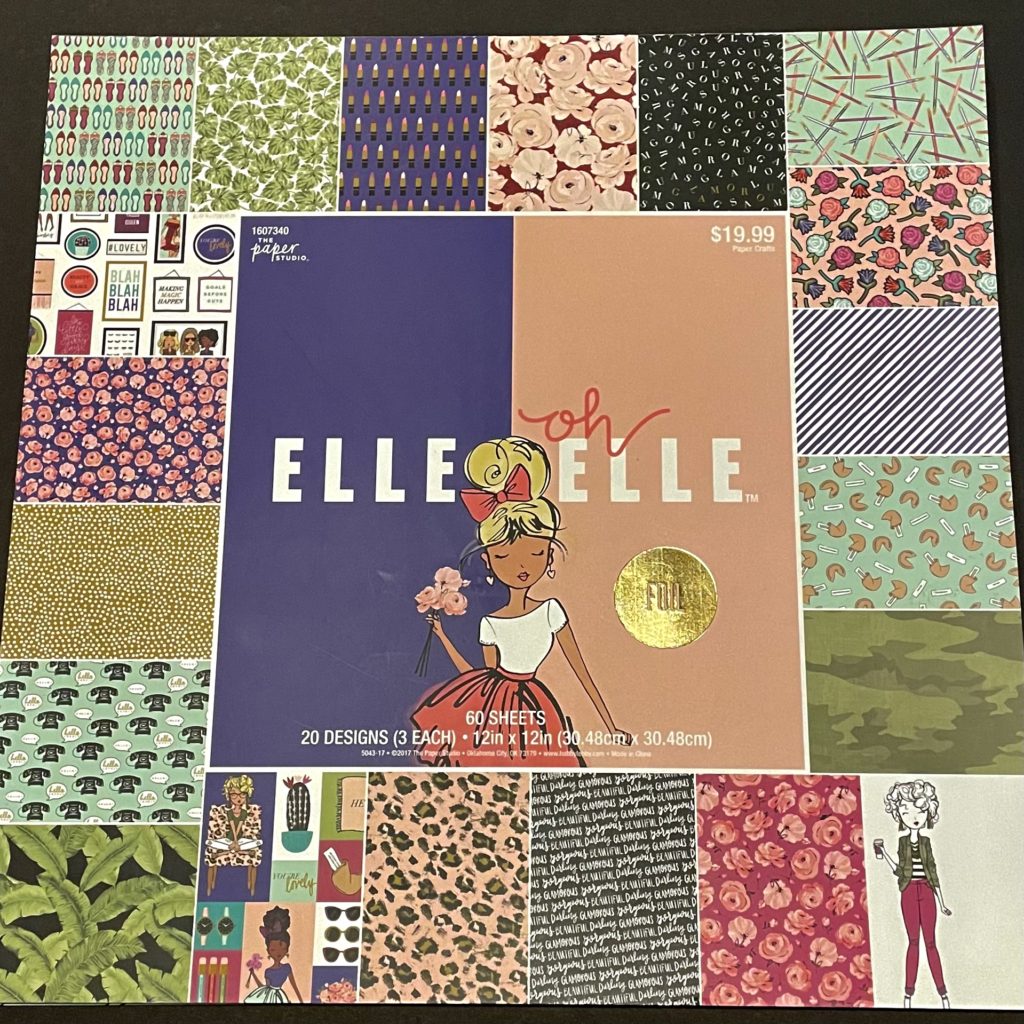
Choosing coordinating colors is easy. Just find colors that match any color on the front cover of the paper pad.
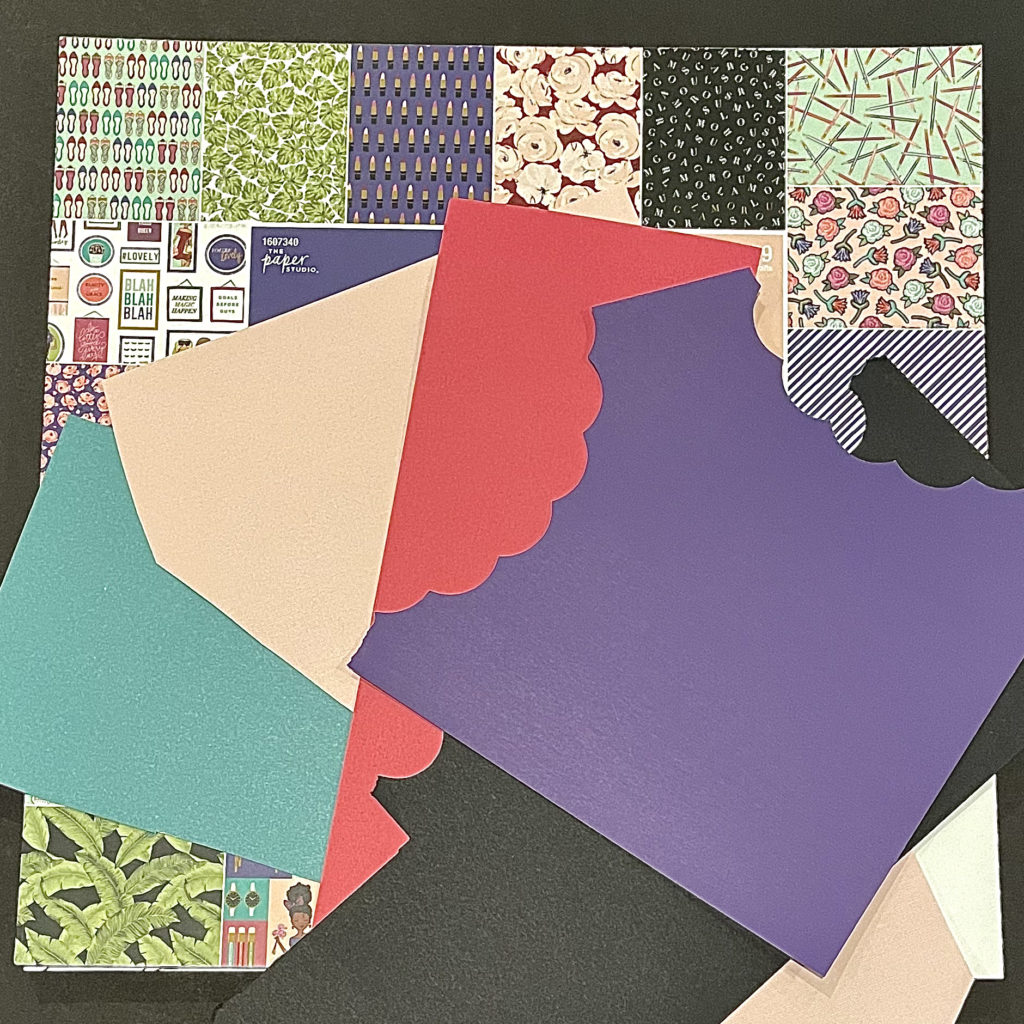
I have made the base of the tags with the cute paper before, but I always end up covering up the cute paper so I have realized that I need to start with plain paper to make the cute paper stand out. But the choice is yours.
Take the template and cut out the item marked Gift Tag. Cut as many tags out of the plain colored paper as you like. Take a single hole punch and punch a hole near the top of the gift tag. Keep about a quarter inch distance from the edge to ensure your tag does not rip from the hole.
Download the template here.

Next, cut out a small piece of the pretty paper that you would like to use for the tag elements. You won’t need a lot of each style since the elements are small. I cut a 3 x 5 piece from each page I wanted to use.

Cut the elements from the template page and randomly cut out a few of each from the pretty paper.
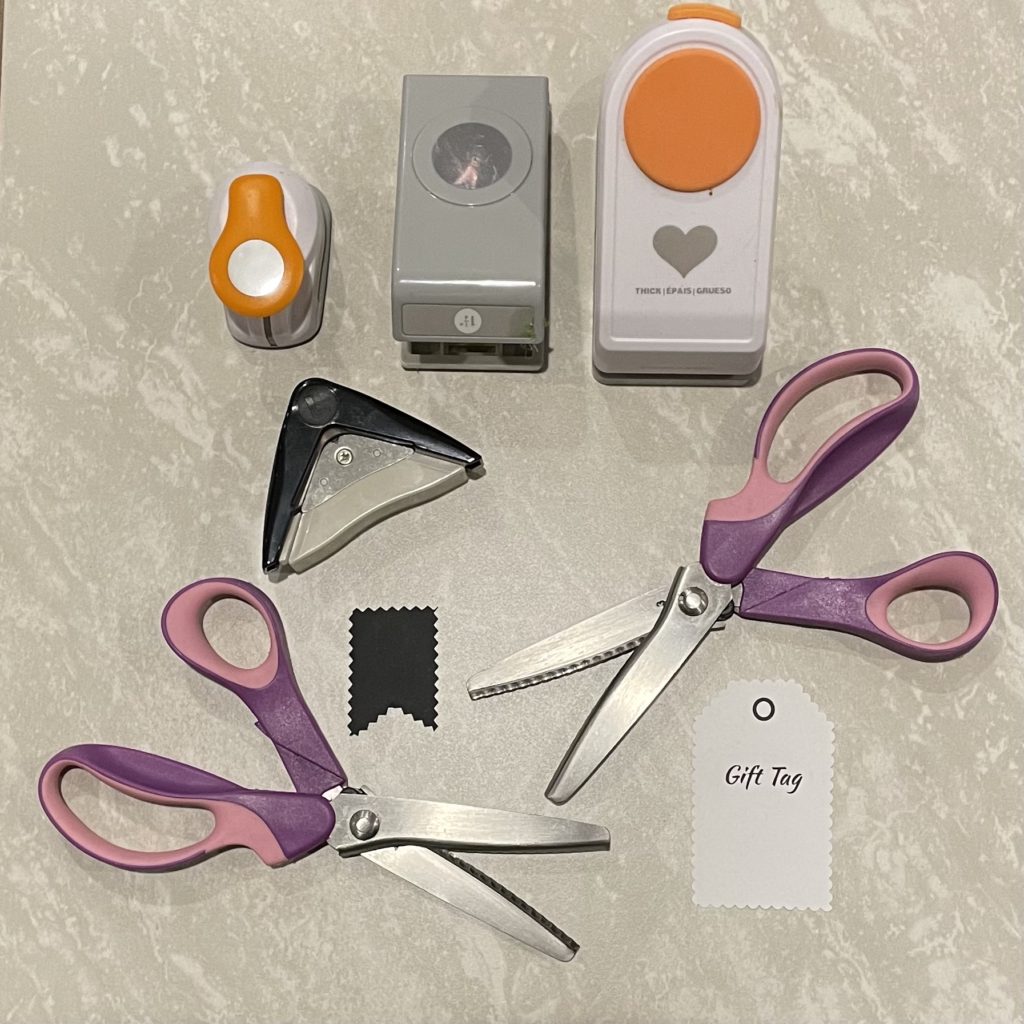
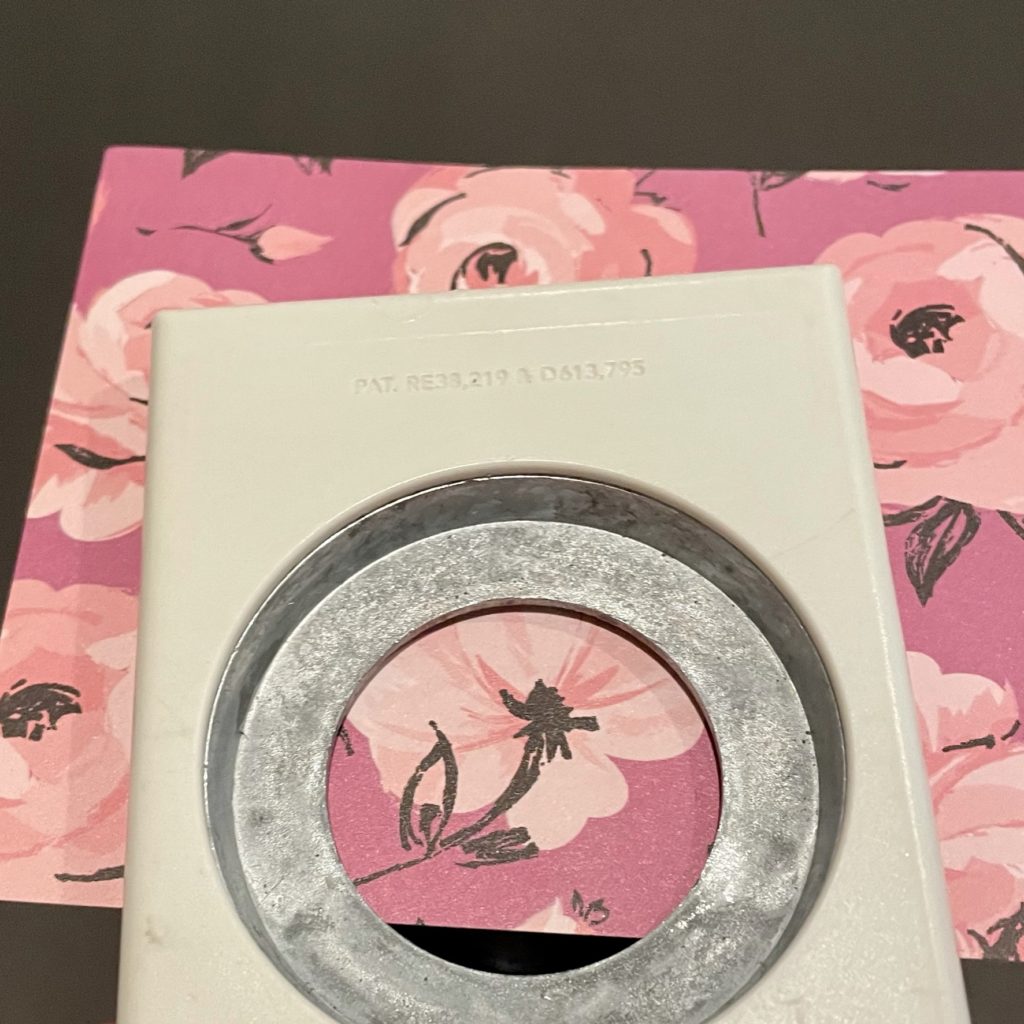
You have additional options if you want to vary your elements even more. You can use edging scissors such as a scalloped edge scissor or pinking shears. If you like these special scissors you can find them here. If you have any paper punches, those are a great tool for adding additional elements quickly. I have used a circle punch in 1 1/4 inch which you can find here and a smaller 1 inch circle here, and also a heart punch which you can find corner rounder, but I didn’t in these tags.
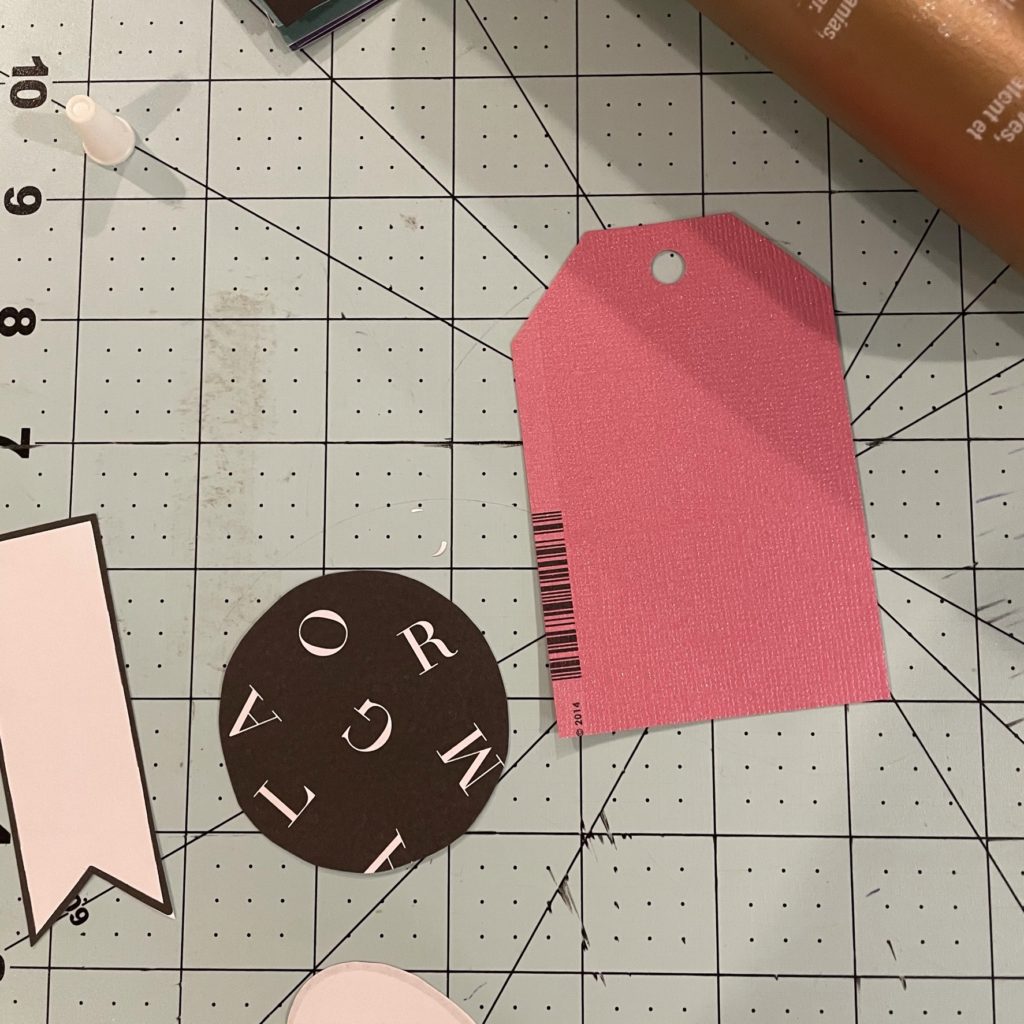
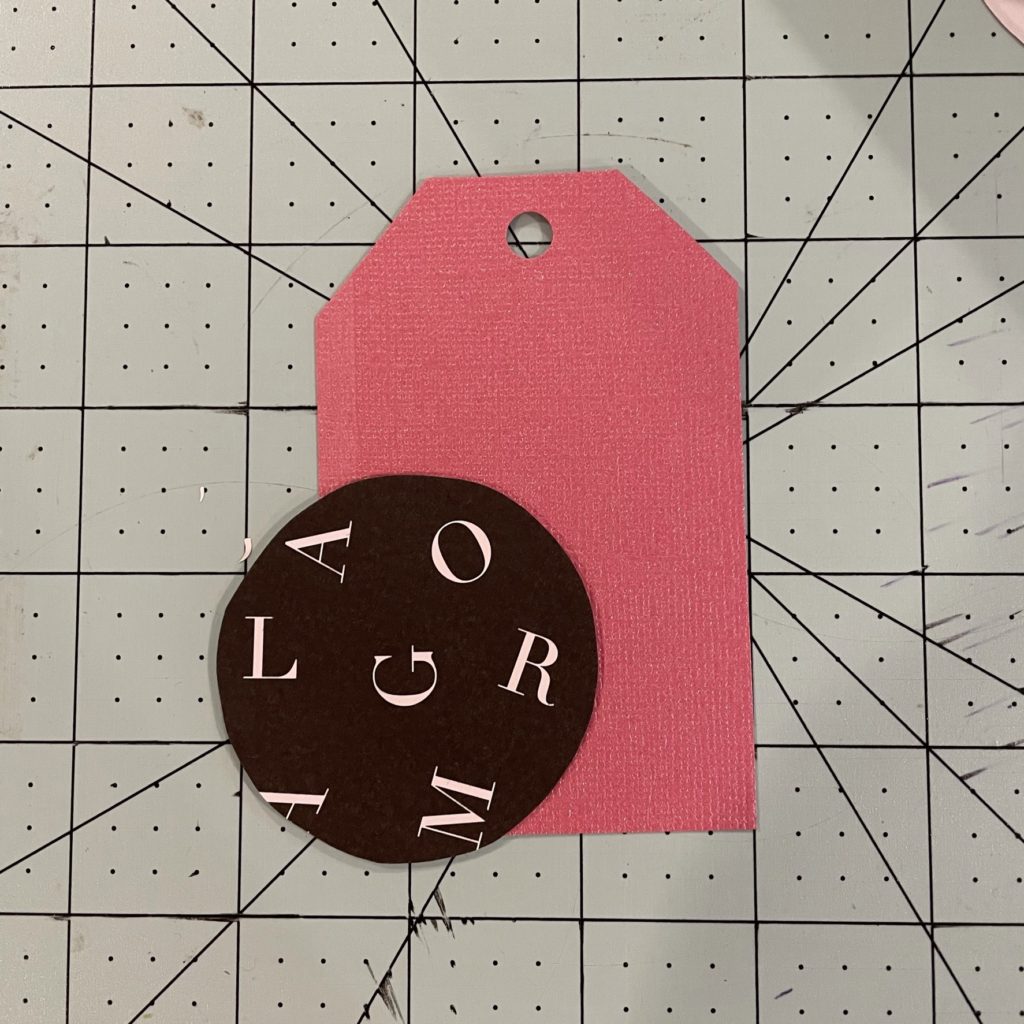
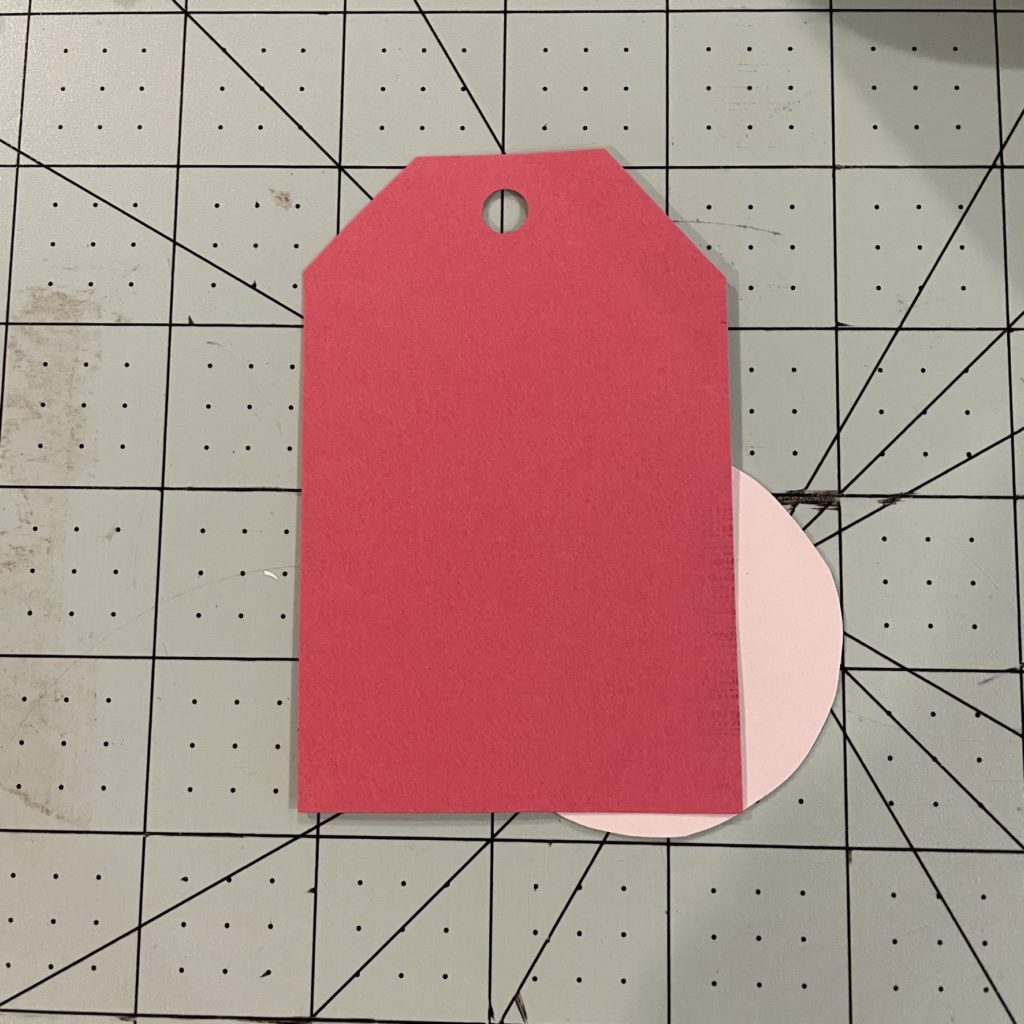
I noticed when cutting my tag bases that the barcode was showing. The great thing about paper crafting is you can cover up a mistake with more paper! I took a circle element and glued it to the corner. When the glue was secure I turned the tag over and trimmed off the overhanging edges. This is a simple design choice to help you vary your elements. Use them fully within the base or hang them over the edges and trim off from the backside.
Begin adding additional elements to your tags any way you choose. I like to use pop dots behind some layers to raise them forward. Pop dots are sticky little foam squares or circles that lift an item off the page. You can find them here.
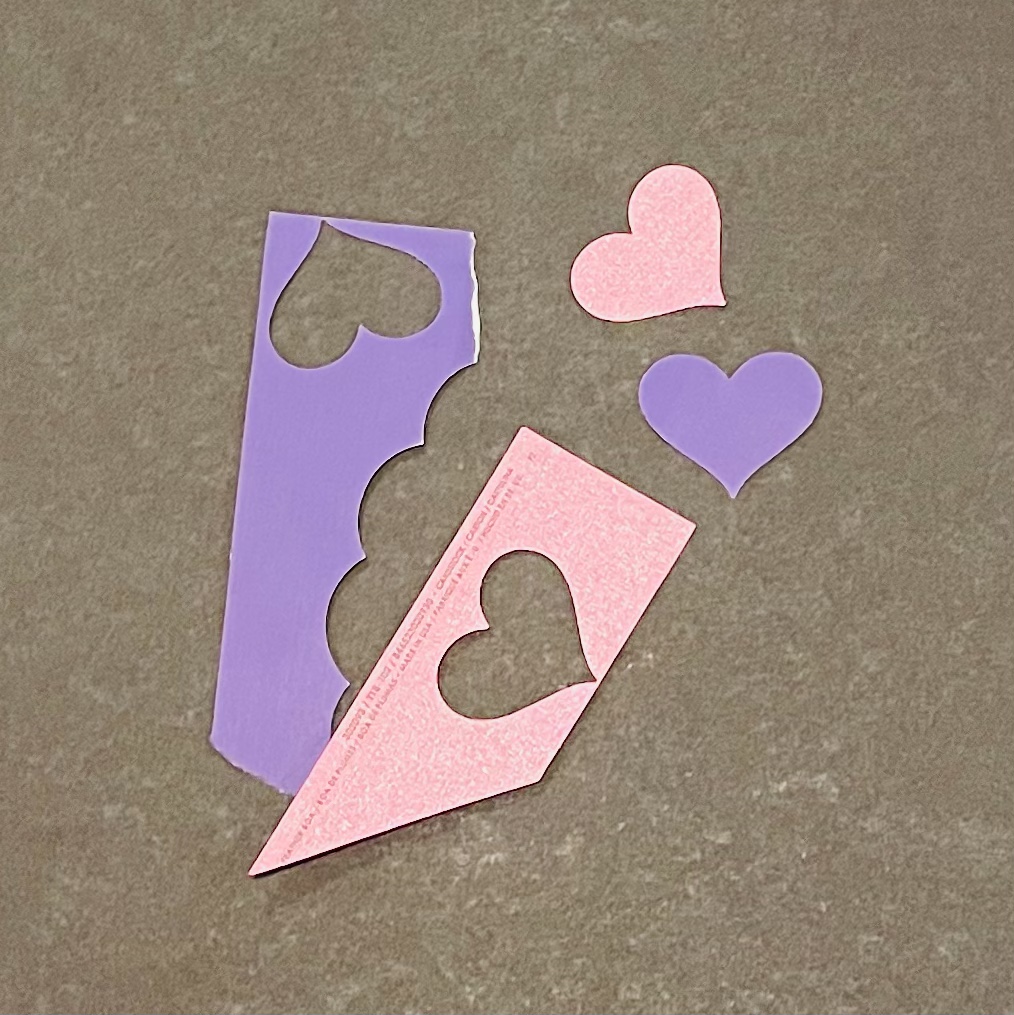
I hate wasting any paper, so I took some of the scraps from making the tag bases and used my heart punch to use up the scrap, giving me some extra elements.
By turning a punch over and removing the cover, you can determine what area of the paper will appear in the punch. In this case, the area I wanted made for a partial punch. I can add it against an edge.

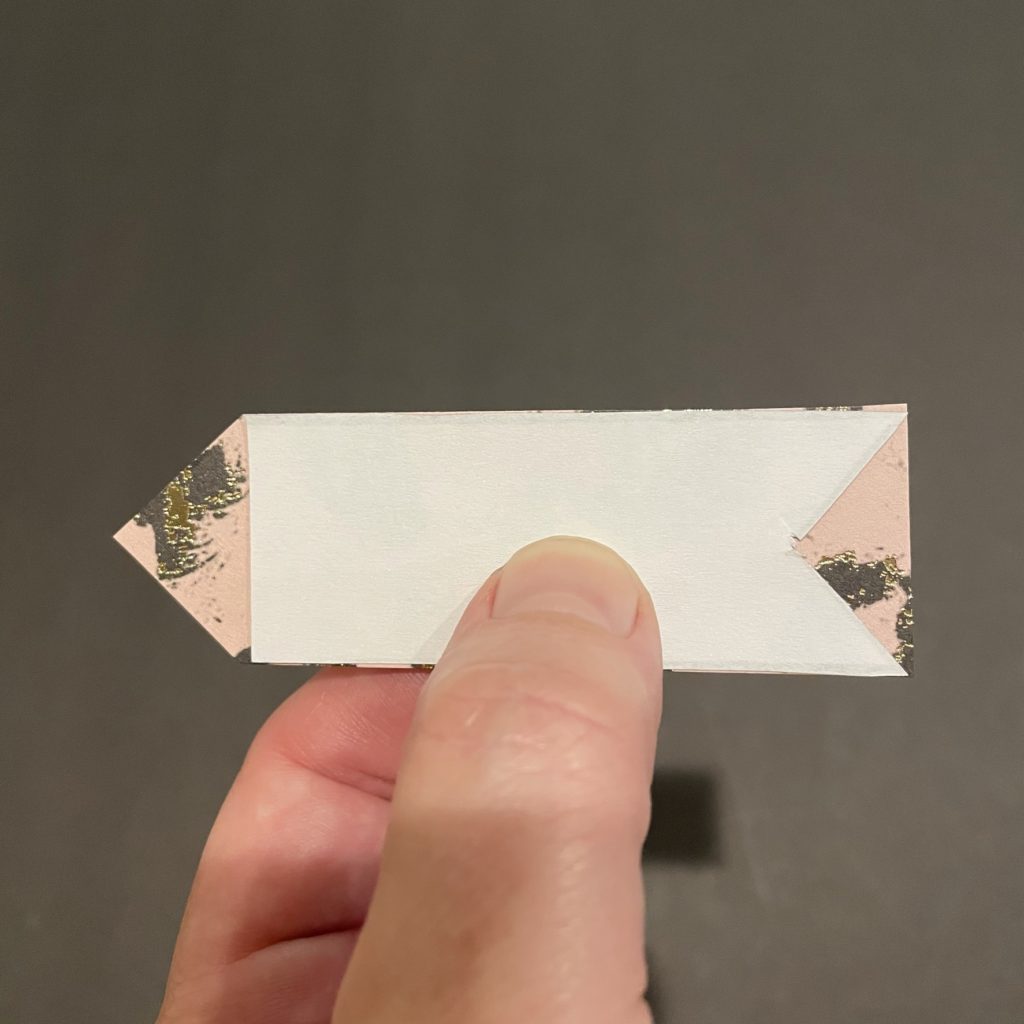
By lining up the banner template to a corner, I can create an extra shape of an arrow.
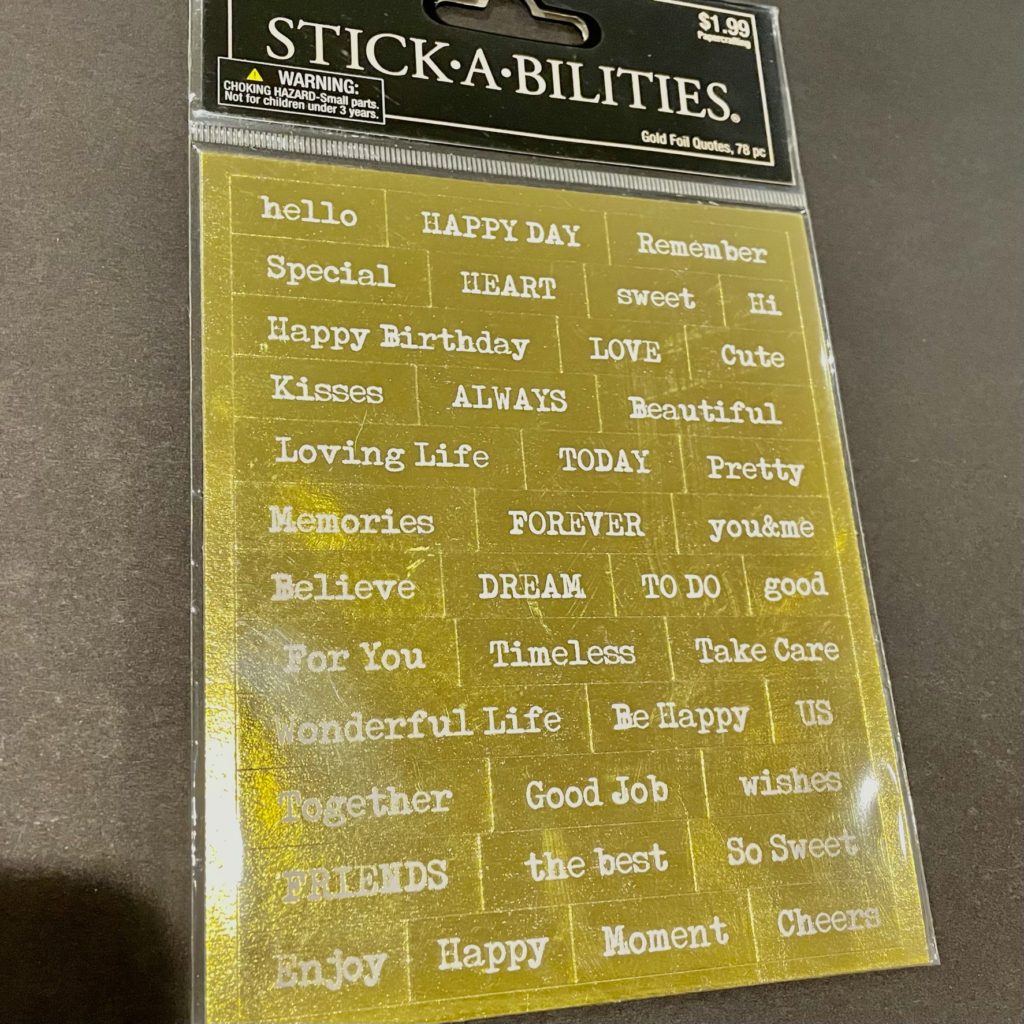
Add cute sentiments to your tags like these. You can choose from so many different ones.
Find a place to store your tags near your cards and you will be ready to attach a beautiful handcrafted tag to your next gift!